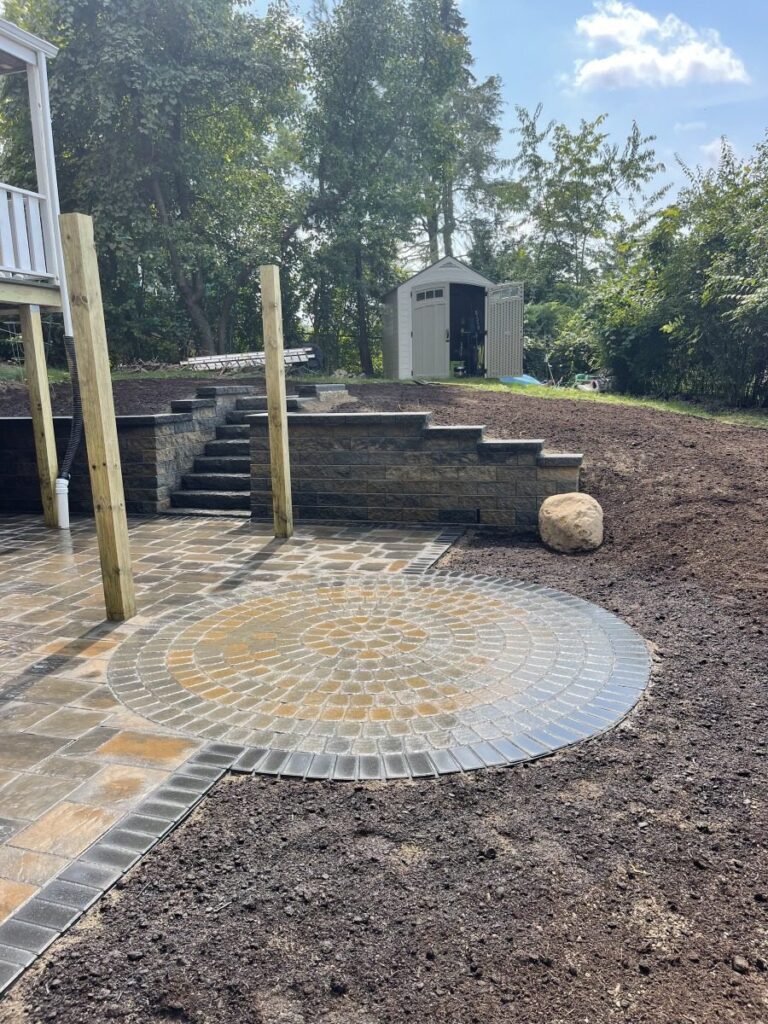
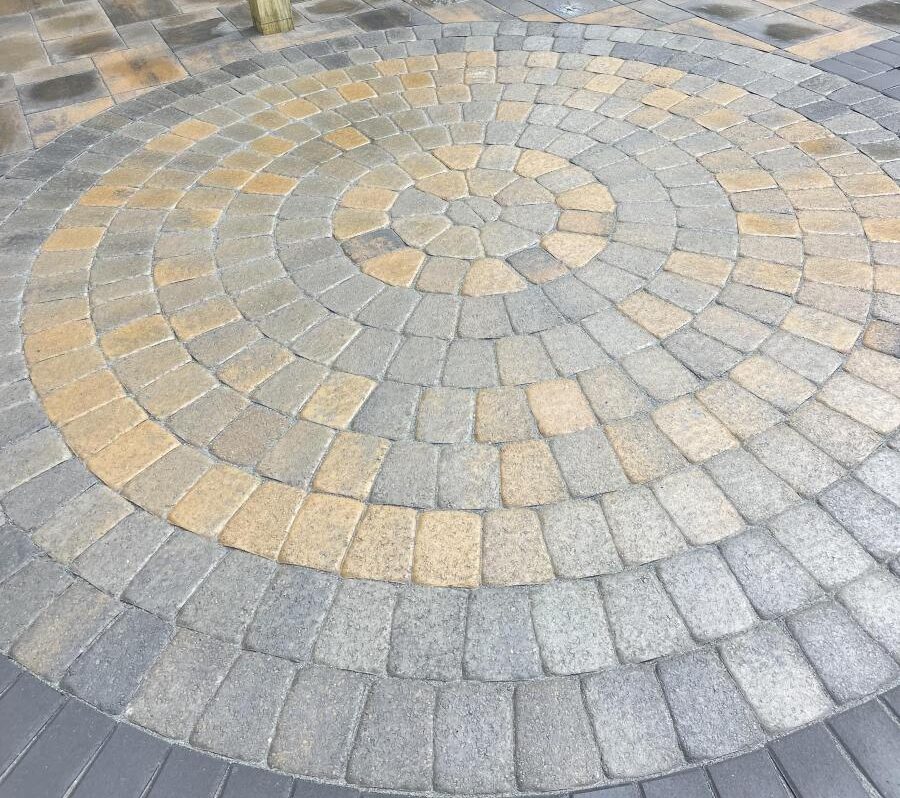
Transforming your outdoor space into a captivating retreat begins with a well-designed and professionally installed paver patio. In this comprehensive guide, we’ll walk you through the step-by-step process of creating a stunning paver patio that will elevate your home’s aesthetics and functionality. Plus, we’ll introduce you to RI Lampus, a leading provider of top-quality paver products, and American Groundskeeping, your trusted partner for expert installation and maintenance services.

Planning Your Project
Before you embark on your patio installation journey, careful planning is key to success. Begin by envisioning the size, shape, and layout of your patio, taking into account factors like traffic flow, seating areas, and landscaping features. RI Lampus offers a diverse range of paver options, from classic brick designs to contemporary concrete styles, allowing you to customize your patio to suit your preferences.
Choosing the Right Materials
When it comes to selecting pavers for your patio, quality and durability are paramount. RI Lampus’ extensive collection of pavers ensures that you’ll find the perfect match for your project. Explore their range of products, including:
- Classic Brick Pavers: Timeless and elegant, brick pavers add warmth and charm to any outdoor space.
- Modern Concrete Pavers: Sleek and versatile, concrete pavers offer a contemporary look with durability to withstand the elements.
- Natural Stone Pavers: For a rustic and organic feel, natural stone pavers create a unique and inviting patio surface.
Choosing the Right Tools and Materials
In addition to selecting the perfect pavers for your patio, having the right tools and materials is crucial for a successful installation. Here are some essential tools you’ll need:
- Measuring Tools: Accurate measurements are key to a precise installation. Invest in a tape measure, level, and square to ensure your patio is properly laid out.
- Safety Gear: When using cutting tools, always prioritize safety. Wear protective gear such as safety glasses, gloves, and hearing protection to prevent injuries and ensure a safe working environment.
- Compactor: A compactor is essential for compacting the base and ensuring a stable foundation for your patio. Rent or purchase a compactor suitable for your project size.
- Edge Restraints: Edge restraints help keep your pavers in place and prevent shifting over time. Choose from options like plastic, metal, or concrete edge restraints based on your aesthetic preferences.
- Jointing Material: Jointing material, such as polymeric sand or regular sand, is used to fill the gaps between pavers and enhance stability. Follow manufacturer guidelines for proper jointing material selection and application.
- Sealant: Consider applying a sealant to protect your pavers from stains, weathering, and wear. Consult with RI Lampus for recommended sealants compatible with their pavers.
By choosing the right tools and materials, along with high-quality RI Lampus pavers, you’ll ensure a successful and long-lasting paver patio that enhances your outdoor living space.
Cutting Tools for Pavers
In some cases, you may need to cut pavers to fit specific areas of your patio or create custom designs. To achieve precise cuts, consider investing in the following cutting tools:
- Wet Tile Saw: A wet tile saw equipped with a diamond blade is ideal for cutting through pavers smoothly and accurately. The water-cooled blade helps prevent overheating and ensures clean cuts.
- Hand Paver Cutting Saw: This handheld saw is specifically designed for cutting pavers manually. It offers flexibility and precision, allowing you to make detailed cuts or adjustments as needed.
- Angle Grinder: An angle grinder with a diamond blade attachment can also be used for cutting pavers. It’s versatile and suitable for both straight cuts and intricate curves or angles.
- Paver Splitter: For splitting pavers into smaller pieces, a paver splitter is a handy tool. It applies pressure to break the paver along a designated line, providing clean and controlled splitting.
- Chisel and Hammer: For minor adjustments or shaping edges, a chisel and hammer can be used to carefully chip away excess material. This method is useful for achieving precise fits in tight spaces.
Having the right cutting tools on hand will enable you to tackle any cutting needs during your paver patio installation with ease and precision.
Step-by-Step Installation Guide
Now, let’s dive into the nitty-gritty of installing your paver patio like a seasoned professional:
- Prepare the Site: Begin by marking out the area for your patio and excavating the soil to the desired depth. Remove any debris and ensure a smooth, level surface.
- Create a Solid Base: Add a layer of compacted gravel or crushed stone to provide a stable foundation for your pavers. Use a plate compactor to achieve proper compaction and stability.
- Lay the Sand Bed: Spread a layer of coarse sand over the compacted base and screed it to ensure uniform thickness. This sand bed will support your pavers and allow for proper leveling.
- Install Edge Restraints: Place sturdy edge restraints along the perimeter of your patio to keep the pavers in place and prevent shifting over time.
- Lay the Pavers: Begin laying your chosen pavers in the desired pattern, starting from one corner and working methodically across the area. Use spacers to maintain consistent joint spacing.
- Cutting and Shaping: Use a paver saw or chisel to cut pavers as needed to fit around edges, curves, or obstacles. Take your time to ensure precise cuts and a seamless finish.
- Compact and Edge: Once all pavers are in place, use a plate compactor again to gently compact the surface and set the pavers firmly. Add jointing sand and sweep it into the joints to secure the pavers and prevent weed growth.
- Apply Sealant (Optional): Consider applying a sealant to enhance the color and protect your pavers from stains, water damage, and UV rays. Follow manufacturer instructions for best results.
Why Choose RI Lampus Pavers
RI Lampus stands out as a trusted leader in the paver industry, offering unmatched quality, durability, and aesthetic appeal. Their commitment to innovation and customer satisfaction ensures that your paver patio will stand the test of time and continue to impress for years to come. Explore their range of products at RI Lampus to find the perfect pavers for your project.
Partnering with American Groundskeeping
For seamless installation and professional expertise in RI Lampus products, turn to American Groundskeeping. Their team of skilled professionals is fully trained with all the tools readily available to build your paver patio; they are also certified in RI Lampus products, guaranteeing a flawless installation process and exceptional results. Beyond installation, American Groundskeeping also provides comprehensive maintenance information to keep your patio looking pristine year-round.
Conclusion
By following this step-by-step guide and partnering with industry leaders like RI Lampus and American Groundskeeping, you can turn your dream paver patio into a reality. Elevate your outdoor living experience, enhance your home’s curb appeal, and enjoy countless hours of relaxation and entertainment in your beautifully crafted outdoor space.


