
Introduction
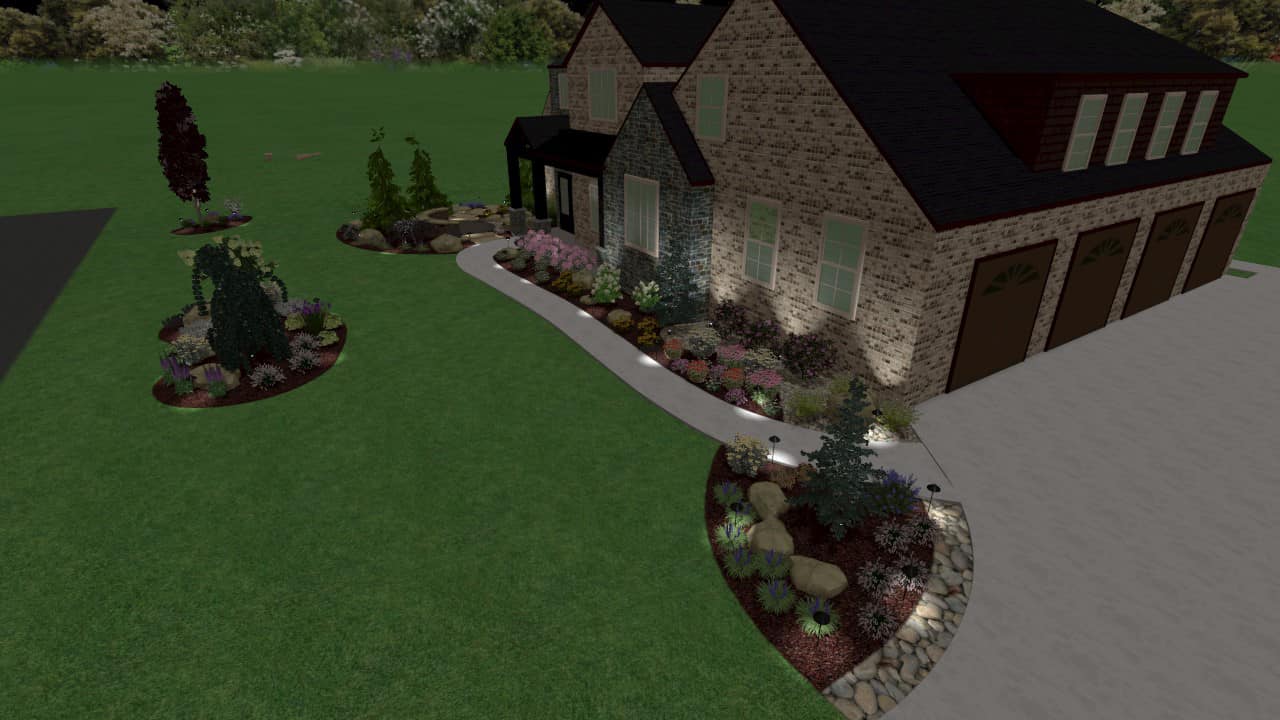
Adding outdoor lighting to your home not only enhances its beauty but also increases safety and functionality. In this guide, we’ll walk you through the process of installing outdoor lighting to transform your outdoor space into a stunning and well-lit area.
Assess Your Lighting Needs
Before starting the installation, assess your outdoor space and determine your lighting goals. Identify areas that need illumination, such as pathways, driveways, patios, decks, and landscaping features. Consider the ambiance you want to create, whether it’s soft and inviting or bright and functional.
Choose the Right Lighting Fixtures
Selecting the right lighting fixtures is crucial for achieving your desired lighting effects. Choose fixtures that are weather-resistant and suitable for outdoor use. Options include path lights, spotlights, floodlights, deck lights, wall-mounted fixtures, and string lights. Consider the design and style of your home and landscape when choosing fixtures to ensure a cohesive look.
Plan Your Lighting Layout
Create a lighting plan that outlines where each fixture will be installed and how they will be connected. Consider factors like voltage requirements, wiring placement, and power sources. Sketch out your lighting layout on paper or use a digital design tool to visualize the placement of fixtures and the distribution of light.
Gather Necessary Tools and Materials
Before starting the installation, gather all the tools and materials you’ll need. This may include lighting fixtures, low-voltage cables, a transformer, connectors, stakes or mounting hardware, wire strippers, a shovel for burying cables, and a power drill.
Install the Transformer
Begin by installing the transformer, which converts standard household voltage to low-voltage power suitable for outdoor lighting. Mount the transformer on a sturdy surface near a power outlet. Connect the transformer to the power source following the manufacturer’s instructions and safety guidelines.
Lay Out the Wiring
Next, lay out the low-voltage cables according to your lighting plan. Bury the cables at least 6 inches deep to protect them from damage and ensure safety. Use a shovel or trenching tool to create a shallow trench for the cables along the planned lighting paths.
Install Lighting Fixtures
Once the wiring is in place, begin installing the lighting fixtures. Follow the manufacturer’s instructions for each fixture, ensuring proper wiring connections and secure mounting. Test each fixture after installation to ensure it’s functioning correctly and positioned as desired.
Connect and Test the System
After installing all the fixtures, connect the cables to the transformer using connectors or wire nuts. Double-check the connections to ensure they are secure and properly insulated. Test the entire lighting system to verify that all fixtures are working and emitting the desired amount of light.
Adjust and Fine-Tune
Once the system is operational, make any necessary adjustments to the lighting angles, brightness levels, and beam widths. Fine-tune the lighting to highlight focal points, create accents, and enhance the overall ambiance of your outdoor space.
Maintenance and Care
Regular maintenance is essential to keep your outdoor lighting system in top condition. Clean fixtures regularly to remove dirt, debris, and insects that may obstruct light output. Inspect wiring and connections periodically for signs of wear or damage, and address any issues promptly to prevent safety hazards.
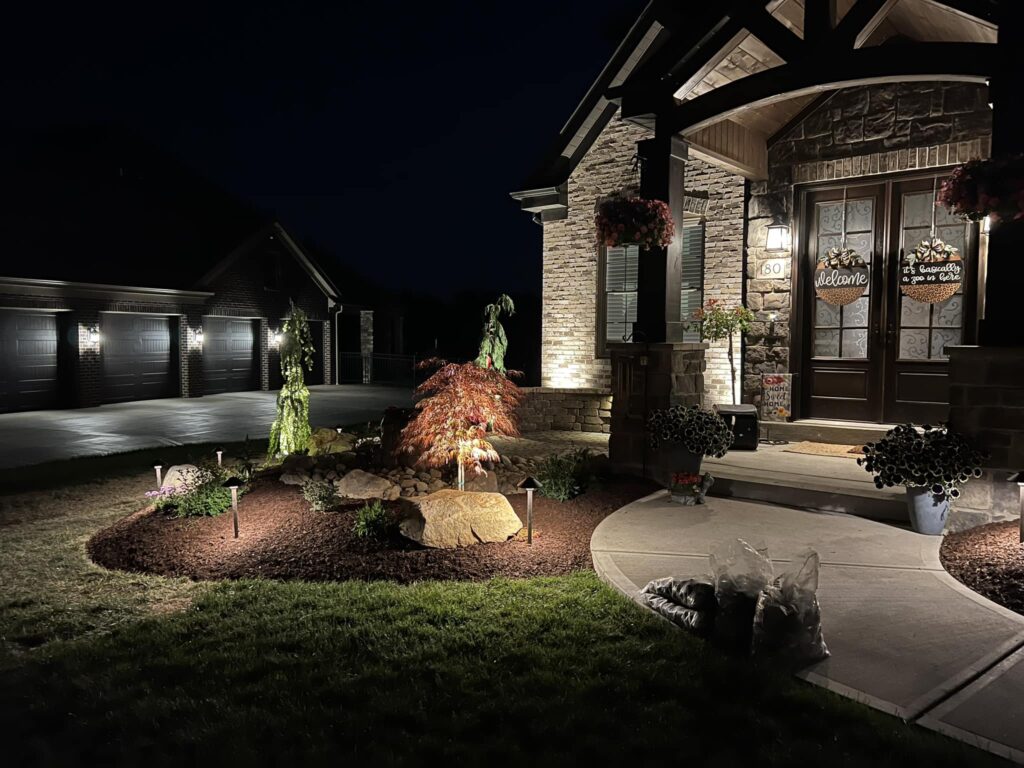
Illuminating your landscape Professionally
Ready to illuminate your outdoor space with stunning lighting designs? Contact American Groundskeeping in Pittsburgh for professional landscape design and outdoor lighting installation services. Let us help you create a captivating outdoor environment that enhances your home’s beauty and functionality.
With proper planning, installation, and maintenance, outdoor lighting can transform your outdoor space into a welcoming and visually appealing area for relaxing, entertaining, and enjoying your outdoor living experience.


